
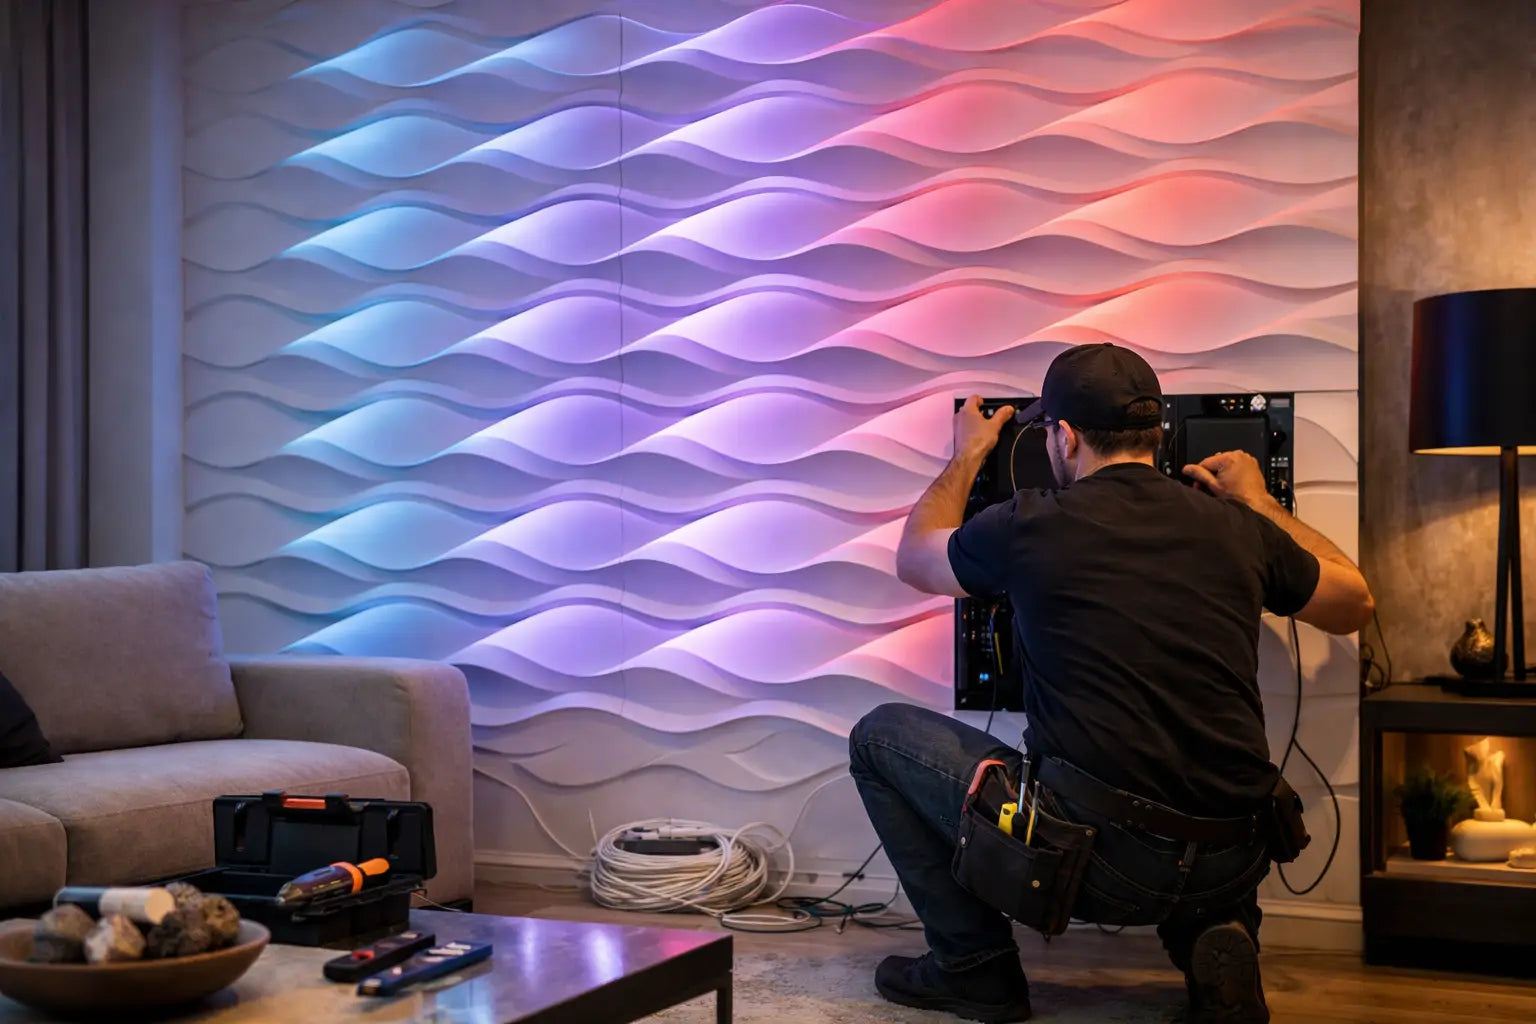
A decorative LED wall instantly changes the perception of a room. Where a flat wall remains discreet, an illuminated relief creates an architectural presence, highlights volumes, and establishes a more refined atmosphere, day and night. If you’re wondering how to install a decorative LED wall, the decisive point is not just the installation of panels or light strips - it’s the balance between technical preparation, visual precision, and quality of finish.
This type of installation is appealing in a contemporary living room as much as in a bedroom, an entryway, or a professional space. But the result depends on several choices: the nature of the support, the type of panels, the location of the power supply, the light intensity, and how the light enhances the relief without overpowering it. A successful LED wall should appear integrated into the space, not added as an afterthought.
How to install a decorative LED wall without compromising the aesthetic
Before any installation, you need to define the wall’s role. Are you looking for a decorative background for a television, a luminous headboard, an accent wall in a living room, or a more immersive staging in a hall or a suite? This intention influences the width of the composition, the design of the 3D panels, the color temperature, and even the paint finish.
The support must then be seriously evaluated. A dry, sound, clean, and relatively flat wall greatly simplifies the installation. On a porous, uneven, or fragile support, adhesion will be less reliable, and joints will be harder to manage. If the base has major defects, it’s better to correct them before installing. A high-end decorative wall does not forgive approximate preparation.
Also, think about electricity very early on. The classic mistake is to choose the panels first and then think about the wiring. However, an elegant decorative LED wall relies on a discreet power supply, a correctly sized transformer, and planned access for maintenance if necessary. When everything is anticipated, the light appears natural, and the wall maintains its visual purity.
Materials to plan for
The exact material depends on the chosen system, but it generally includes decorative wall panels, a suitable adhesive or glue, caulk or finishing compound, fine sandpaper, a level, a tape measure, a spatula, as well as an LED system compatible with indoor use. Depending on the project, you may also need profiles, connectors, power supply, wiring, and a controller if you want to vary the intensity or shade.
The choice of panels matters a lot. 3D plaster panels provide a more architectural presence, an elegant finish, and a surface that can be painted to precisely match your interior palette. They also have the advantage of offering a more noble interpretation of light: the lighting glides over the reliefs, creates sharp shadows, and gives the wall a more sophisticated depth than a simple luminous decor.
For LED lighting, it is better to avoid overly cold light in a residential interior if the goal is to create a warm atmosphere. A warm to neutral tone generally enhances volumes better. In a very contemporary room, a clearer light can work, but it all depends on the materials present, the furniture, and the desired level of contrast.
Preparing the layout before installation
The best installation often starts on the floor. Lay out your panels dry to check the pattern repetition, alignments, and cuts to be made. This step avoids unpleasant surprises and helps identify areas where light will have the most visual impact.
Then, mark your reference points on the wall. Start with a central axis or a perfectly straight starting line, depending on the chosen composition. If the wall frames a piece of furniture, a television, or a headboard, align the composition with that element, not just with the edge of the wall. In high-end decoration, visual balance often takes precedence over the purely geometric logic of the room.
This is also the right time to mark the location of cables, power supply, and necessary cut-outs. If the LED installation is to be integrated behind certain reliefs or in specific areas, every passage must be clear before the first fixing.
Where to place the LED lighting
There are several approaches. The LED can highlight a contour, be integrated into panels designed for lighting, or be positioned indirectly to make the reliefs vibrate. The choice depends on the desired effect.
Too direct frontal lighting reveals everything, including small imperfections. Indirect lighting, however, enhances forms with more subtlety. For an elegant interior, this second option is often the most convincing. It adds depth without transforming the wall into an overly demonstrative element.
Installing decorative wall panels
Once the layout is validated, installation can begin. Apply the appropriate adhesive according to the manufacturer's recommendations, then position the first panel precisely. This panel will determine the rest. Check the plumb, line, and alignment before proceeding.
Subsequent panels must be installed regularly, checking both the pattern connections and the overall level. On a 3D wall, a slight offset is quickly noticeable, especially when lighting accentuates shadows. It is therefore preferable to proceed methodically rather than quickly.
If cuts are necessary around outlets, switches, or at the periphery, measure twice before cutting. A clean cut is easily rectified during finishing. An imprecise cut compromises all the refinement of the project.
For the most meticulous projects, some choose to treat the joints to achieve a more continuous decorative appearance. This takes a little more time, but the final result looks more architectural, almost sculpted into the wall itself.
Properly integrating the LED system
This is where technique meets design. Install your LED strips or lighting elements on a stable, clean base that is compatible with heat dissipation if the system requires it. A poorly fixed, too visible, or badly oriented strip immediately detracts from the premium effect of the wall.
Ensure that the transformer is correctly sized for the length of LED installed. Undersizing can cause drops in intensity, excessive heating, or a reduced lifespan. Conversely, a well-calibrated system ensures constant and more reliable light over time.
Before closing or finalizing the technical areas, test the entire setup. Check the light uniformity, connections, intensity, and the actual rendering in the room. The light perceived in broad daylight is not the same as in the evening. Perform this test under the most realistic usage conditions possible.
What to avoid
A decorative LED wall loses elegance when the light source is visible where it shouldn't be, when the reliefs are misaligned, or when the light color clashes with the decoration. An overly aggressive light can harden the wall. Too weak a light can erase its relief.
Another point of vigilance: the multiplication of effects. If the panels already have a strong design, there's no need to add a highly changeable colored LED in a sophisticated living room. Visual luxury often lies in mastery, not accumulation.
Finishing and painting
Once the panels are installed and the lighting validated, it's time for the finishing touches. Fill in the joints if necessary, fill any small irregularities, then gently sand so as not to alter the relief. This step requires patience, but it makes all the difference between a decent project and a truly accomplished wall.
If the panels are paintable, choose a paint suitable for the desired ambiance. Mineral tones, off-whites, warm grays, or sandy tones reveal volumes very well under light. A matte finish is often more elegant, as it allows the wall's sculpture to express itself without parasitic reflections. In some interiors, a deep shade can be superb, provided the lighting is correctly balanced.
For a particularly refined result, it is advisable to observe the wall at different times of the day before validating the final color. LED transforms the perception of the shade, especially on textured surfaces.
Should you do it yourself or hire a professional?
It all depends on the wall, the LED system, and your level of expectation. A simple installation, on a sound support and with a sober lighting scheme, can be carried out by a careful DIYer. However, as soon as the project involves more technical electrical integration, a large wall format, or a flawless finish, the intervention of a professional becomes a real advantage.
This is particularly true for spaces where the wall is a major focal point. In a designer living room, a master suite, or a high-end real estate project, the slightest misalignment is visible. It is therefore better to secure the final rendering.
Some collections of decorative panels are designed to simplify installation while maintaining a premium look. This is precisely what makes this type of solution attractive: a strong visual impact, rational installation, and customization that remains accessible, even for ambitious residential projects.
A well-designed decorative LED wall is not just for lighting. It structures the space, enriches the atmosphere, and gives the decor a more contemporary signature. If you take the time to prepare the support, calibrate the light, and refine the finishes, the result will not just be successful - it will naturally appear in its place, like an elegant obviousness in your interior.


