A sculptural wall can lose all its impact with a poorly chosen paint or a rushed preparation. Conversely, painting plaster wall panels with the right method reveals every relief, refines the light, and gives the space a distinctly more architectural signature. It is often the color that transforms a beautiful panel into a true centerpiece.
Why painting plaster wall panels truly changes the outcome
Plaster has a unique presence. It softly captures light, creates crisp shadows without excessive shine, and brings a tactile quality that flat walls do not offer. On a 3D panel, paint therefore serves not only to change a shade, but also to define volume.
A matte white will highlight a very contemporary elegance, almost gallery-like. A mineral shade such as sand, greige, or taupe will soften the reliefs and create a more enveloping atmosphere. A deep tone, however, will give a more theatrical effect, but it requires greater precision as every surface variation becomes visible.
This is where one must be realistic. The more pronounced the panel's design, the more carefully the paint must be applied. A premium result depends less on the color itself than on the regularity of the primer, the quality of the finish, and the respect for the relief.
Before painting plaster wall panels, check three points
The first question is not the color, but the condition of the substrate. A plaster panel must be dry, clean, and perfectly stable. If the installation is recent, allow sufficient time for joints, adhesives, or finishing fillers to dry completely. Painting too early traps moisture and can impair adhesion or create differences in absorption.
Second, the surface must be thoroughly dusted. Plaster easily retains fine particles, especially in hollows. If this dust remains, the primer will adhere poorly and the finish will lose its sharpness.
Finally, observe the panel's geometry. A wavy pattern, a linear design, or a very angular relief do not react to paint in the same way. For complex shapes, prioritize an application method that can reach hollows without overloading edges.
Is a primer always necessary?
Yes, in the vast majority of cases. Plaster is naturally absorbent. Without a primer, paint penetrates unevenly, causing dull areas, visible touch-ups, and higher consumption.
A primer for porous substrates helps standardize absorption and preserve the final look. This is even more crucial for high-end decorative panels, where the legibility of the relief depends on a homogeneous finish. Trying to save time here often costs an additional coat later.
Which paint to choose for plaster panels
The right choice depends on the desired effect, the room, and the level of relief. In most interiors, a quality acrylic paint offers the best balance between aesthetics, ease of application, and maintenance. It dries fairly quickly, has little odor, and is well suited for properly prepared plaster.
In terms of finish, matte remains the most elegant choice to highlight the sculptural character of the panel. It slightly absorbs light and provides a sophisticated look, very consistent with contemporary or timeless decor. Velvet can be interesting if you want a bit more visual softness and a slightly easier-to-maintain surface.
Satin, however, should be used with discretion. In a hallway, entrance, or area subject to friction, it can make sense. But on a pronounced relief, it accentuates application flaws and can make the panel more decorative than refined. It all depends on the desired style.
Colors that best enhance relief
Light tones remain the most versatile. They visually enlarge the space and emphasize depth without making the wall heavy. This is a particularly strong solution for living rooms, bedrooms, and reception areas.
Mineral colors also work very well on plaster. They respect its natural dimension and maintain a sense of calm. In a very contemporary interior, a warm gray or a stone beige often creates a more subtle balance than a pure white.
Dark shades, however, add a lot of character. On a well-lit wall, a soft anthracite, a deep green, or an earthy brown can produce a spectacular effect. But their demands must be accepted. The relief will be more present, connections more visible, and the finish will need to be impeccable.
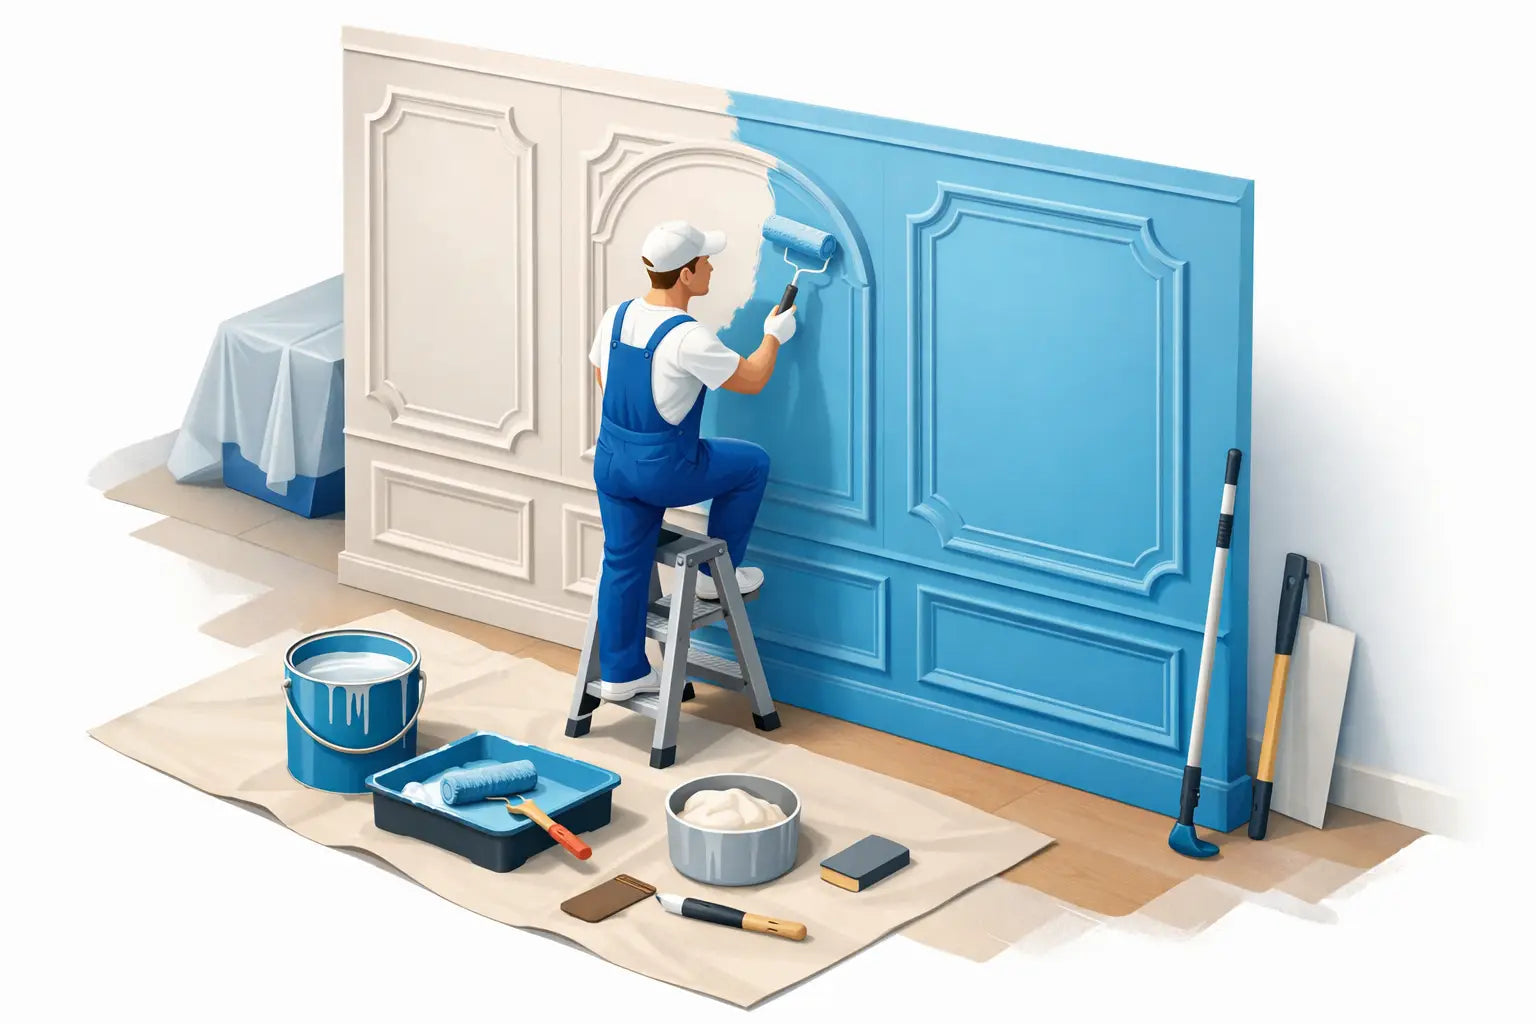
How to paint plaster wall panels without losing the finesse of the design
The key is to work in thin layers. Overly thick paint fills details, thickens lines, and dulls the panel's design. This is the most common mistake when treating a 3D covering like a classic wall.
Start by applying the primer evenly, insisting in the hollows without creating excessive thickness. Once dry, inspect the surface under grazing light. This step immediately reveals any visible joints, small imperfections, or overly absorbent areas.
For the finish paint, the ideal is often to combine two actions. A roller with suitable nap allows for quick coverage of surfaces, while a more precise brush or fine brush helps to treat angles, grooves, and deep reliefs. For certain patterns, a spray gun can offer a very clean result, provided it is well-controlled and the surroundings are carefully protected.
Between coats, respect the actual drying time, not just the theoretical minimum. In a cool or poorly ventilated room, paint takes longer to stabilize. Returning too quickly to a still-tacky surface can create marks and break uniformity.
Roller, brush, or spray gun?
The roller remains the most practical tool for the majority of residential projects. It is well suited for panels with moderate relief and allows for steady progress. Simply avoid pressing too hard.
The brush is useful for following the pattern and correcting difficult areas. It takes more time, but it provides real precision for complex designs.
The spray gun often gives the best result on highly structured panels because it covers without flattening the relief. However, it requires real expertise. For an individual, the result is not automatically better if the tool is poorly adjusted.
Mistakes that compromise a high-end finish
The first mistake is to neglect the joints. Even on a beautifully crafted panel, a visible joint immediately disrupts the perception of the wall. Before painting, joints must be carefully repaired and then finely sanded if necessary.
The second is to choose an entry-level paint for a premium decorative substrate. The contrast is rarely flattering. A worked wall material deserves a finish capable of matching its details, depth, and light variations.
Another sensitive point is the room's lighting. A 3D panel painted in a dark color under side lighting will reveal everything, the beautiful as well as the approximate. This is an advantage if the execution is meticulous. Otherwise, the wall becomes more demanding than elegant.
Finally, usage must be considered. In a bedroom or living room, the priority may be visual refinement. In a hallway or a rental project, everyday resistance matters more. The best choice is therefore not always the most spectacular, but the one that holds up well over time.
For a residential or professional project, consistency matters as much as technique
Painting a plaster panel is not just about covering a surface. It's about working with the room's style, the light level, the wall's volume, and the space's function. A geometric panel painted off-white in an entryway does not express the same intention as a wavy panel in a sand tone in a suite or an LED relief highlighted by a deep shade.
This is what makes this material so interesting. It allows for true personalization without losing its architectural elegance. For individuals, this means a more distinctive interior without heavy construction. For decorators, installers, or project managers, it is a solution that combines visual impact, adaptability, and custom finish.
On a well-designed collection, such as those offered by EFFET MARBELLA, paint becomes the project's final signature. It doesn't hide the panel. It gives it its rhythm, its presence, and its level of sophistication.
If you are hesitating between several shades or finishes, rely on a simple rule: the most beautiful result is one that respects the relief, the light, and the actual use of the room. When these three elements are aligned, the wall no longer just decorates; it elevates the entire interior.


