
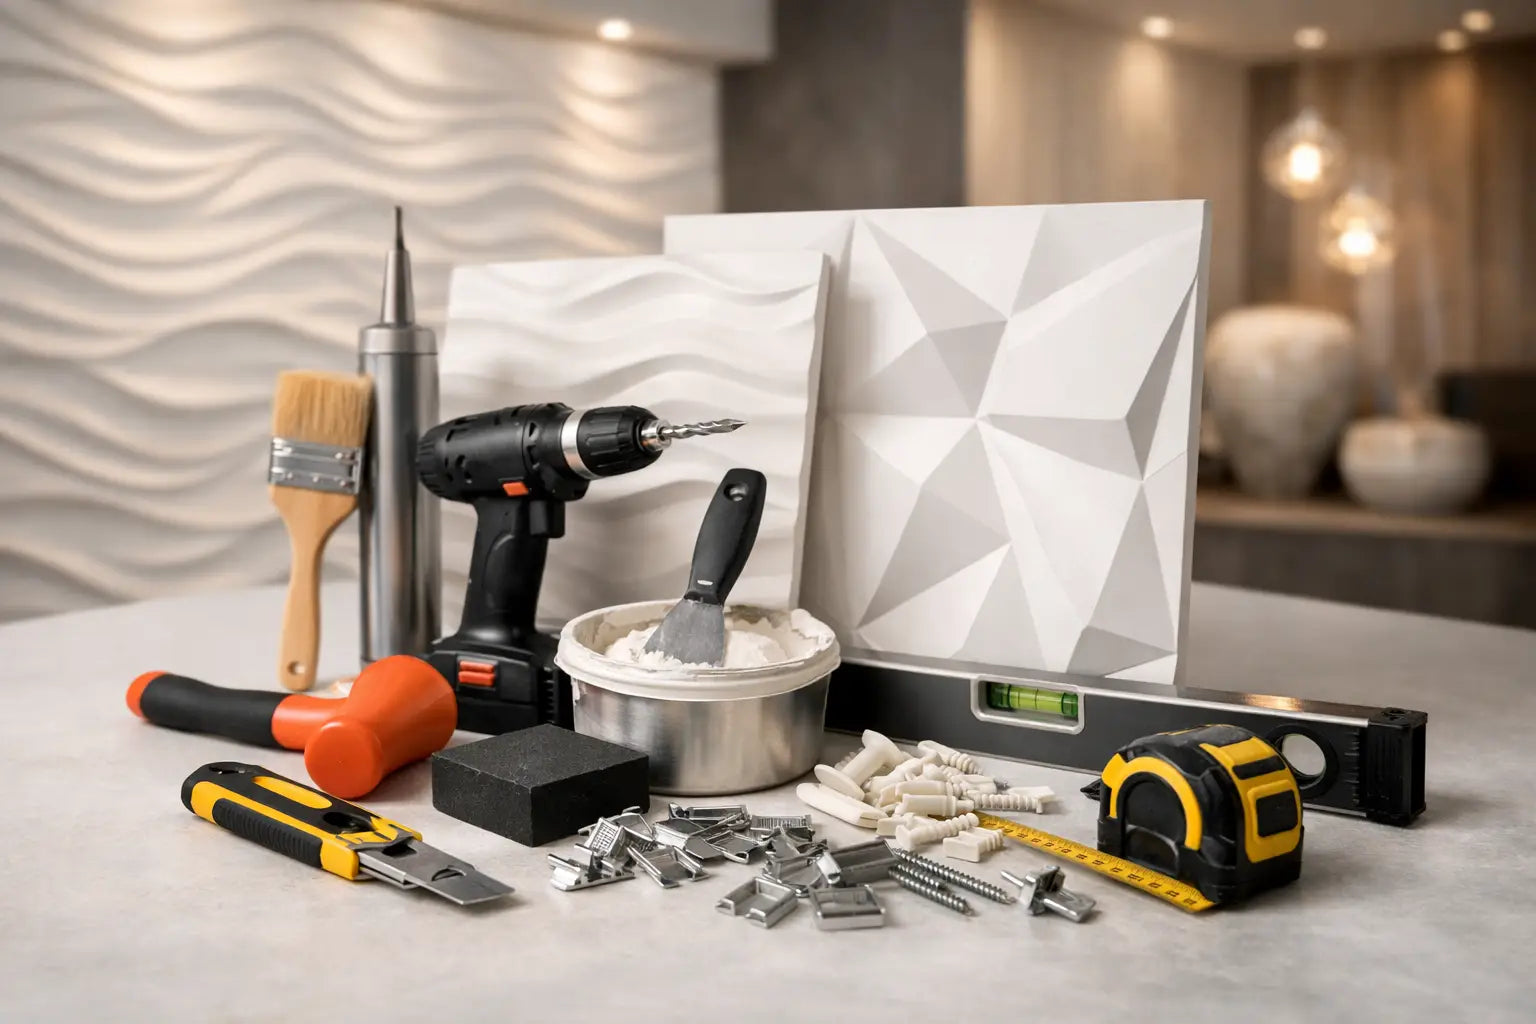
A 3D wall panel can transform a room in a single day. But what really separates a spectacular wall from an approximate result is the choice of 3D wall panel installation accessories. Adhesive, cutting tools, preparation products and finishing materials play as decisive a role as the panel's design itself.
When you invest in a high-end decorative wall covering, you want a crisp, durable and visually impeccable result. This is precisely where accessories come in. They are not secondary. They ensure adhesion, accurate joins, sound joints and lasting performance.
Which 3D wall panel installation accessories should you prepare?
The first step is to think of installation as a complete process. A 3D plaster panel or other decorative panel cannot be installed with goodwill and a utility knife alone. It needs a clean base, a fixing method suited to the substrate, accurate tools and finishing products consistent with the intended appearance.
The most useful accessories are generally an adhesive suited to the material, a notched trowel or filling knife, a spirit level, tape measure, straightedge, marking pencil, a cutting tool suited to the panel, joint filler where required, fine abrasive paper and an undercoat before painting. Some projects also need a cartridge gun, alignment spacers or a bonding primer.
One point deserves emphasis: not every project requires exactly the same accessories. A small decorative headboard in a bedroom does not impose the same constraints as a complete living-room wall or a professional installation. The right choice depends on the substrate, area, expected finish and required visual standard.
The right adhesive: the foundation of the installation
If 3D wall panel installation accessories must be ranked, adhesive comes first. It provides the panel's stability, adhesion to the wall and the security of the whole installation. An unsuitable adhesive can cause detachment, stress or gaps between panels.
For 3D plaster wall panels, choose an adhesive compatible with both the material and the intended substrate. An absorbent wall, plasterboard, an old substrate and an already painted surface do not behave in the same way. In some cases, primer is essential before bonding to prevent the substrate from drawing moisture out of the adhesive too quickly.
The safest approach is to avoid generic solutions when aiming for a premium result. An adhesive selected for its technical compatibility often allows more consistent installation and fewer flatness defects. It is invisible once the wall is finished, but its impact is considerable.
Measuring and alignment tools
A 3D design immediately reveals the slightest misalignment. A slightly sloping line, a pattern drifting by a few millimetres or a poorly planned join is noticed much sooner than on a smooth covering. That is why alignment tools are essential.
A spirit level, straightedge and tape measure help position the first row accurately. The entire composition depends on this starting line. If it is wrong, the error carries through to the last panel. With geometric patterns, this requirement is even stronger because the eye immediately detects a break in symmetry.
On large walls, planning the layout beforehand is often sensible. This lets you anticipate cuts, balance the edges visually and avoid finishing with a strip that is too narrow in a corner. It is not an accessory in the strict sense, but it is a preparation stage that noticeably improves the final result.
Cutting, fitting and clean edges
A well-installed 3D wall panel can be recognised by the quality of its joins. To achieve this, cuts must be clean. The tool depends on the material, panel thickness and required precision. With plaster panels, a suitable saw or a dedicated cutting tool will often give a more consistent result than an improvised solution.
Also prepare a way to lightly smooth the cut edges if necessary. A clean cut makes assembly easier and reduces remedial work at the joints. Again, the aim is not simply to install quickly. It is to achieve a continuous sculptural surface whose relief appears to have been drawn in a single movement.
In delicate areas around sockets, switches or corners, work methodically. Cutting too hastily can crack the panel or break the line of the pattern. With a high-end decorative product, precision is always preferable to haste.
Filler, joints and surface finishing
Depending on the chosen model, some panels are designed to flow seamlessly from one element to the next. In this case, jointing and finishing products become essential. They reduce the visibility of joins, correct small differences and prepare a uniform surface for painting.
Fine filler, applied well, can enhance relief without weighing it down. Conversely, an overly heavy finish can bury the pattern's lines. The challenge is to retain the panel's graphic strength while achieving a visually continuous whole.
Sanding follows, using a fine abrasive and a light touch. The aim is not to flatten the relief but to soften transitions and remove small irregularities. This stage requires some patience, but it truly transforms the wall's final appearance.
Undercoat and paint: materials that reveal the relief
Paintable 3D wall panels offer considerable decorative freedom. Architectural white, mineral beige, deep grey or a bolder shade: colour changes the perception of volume and light. To achieve the intended result, an undercoat is essential.
It evens out absorption, improves paint adhesion and helps achieve a more consistent finish. Without it, the result can become uneven, particularly on jointed or lightly repaired surfaces. This is a technical detail, but it determines the elegance of the finish.
For application, a roller often suits broad areas, while a brush allows work in the recesses and around the contours. On some strongly defined patterns, strokes may need to be applied in different directions to cover the whole surface properly. The final result then depends as much on application quality as on the colour.
Common mistakes when accessories are underestimated
The first mistake is buying panels without planning the complete installation process. People think about the design, future colour and wall to be transformed, then improvise with the adhesive or finishes. This is often where the work becomes complicated.
The second is neglecting the substrate's condition. A powdery, uneven or overly absorbent wall compromises installation, even with beautiful panels. Preparation materials are not optional extras. They establish the conditions for success.
The third mistake concerns the finish. Many installations look acceptable close up but lose their refinement when grazing light reveals joints, alignment defects or visible repairs. A 3D wall design interacts with light. Every stage should therefore be considered with that final view in mind.
Residential and professional projects have different requirements
In a private living room, bedroom or entrance hall, very slight irregularities may sometimes be tolerated if they remain invisible in everyday use. In a lobby, showroom, office or high-end rental property, the expected finish is often more demanding.
This is why professionals and specifiers pay considerable attention to 3D wall panel installation accessories. They know that a beautiful product needs an equally considered installation. For a design brand such as EFFET MARBELLA, this principle makes sense: visual impact comes as much from the precision of installation as from the material.
For homeowners, the right approach is simple. If the project is decorative but central to the room, allow for the right products and a realistic installation time from the outset. A signature wall deserves execution that matches its intention.
Before choosing a model, imagine the finished result in morning and evening light, and from a few metres away. If you want a wall that appears elegantly sculpted, every accessory matters: not to complicate installation, but to give the design its full presence.


